How to Outfit Swap with Luma AI's Modify Video Feature
Follow this detailed tutorial to learn how to outfit swap using Luma AI's Modify Video feature. Each step is illustrated with images to guide you through the process of changing outfits in your videos.
Step 1: Capture a Video
Capture a video of yourself or a friend hitting different poses, moving freely, or dancing to music. This initial footage is essential for the outfit swap process.

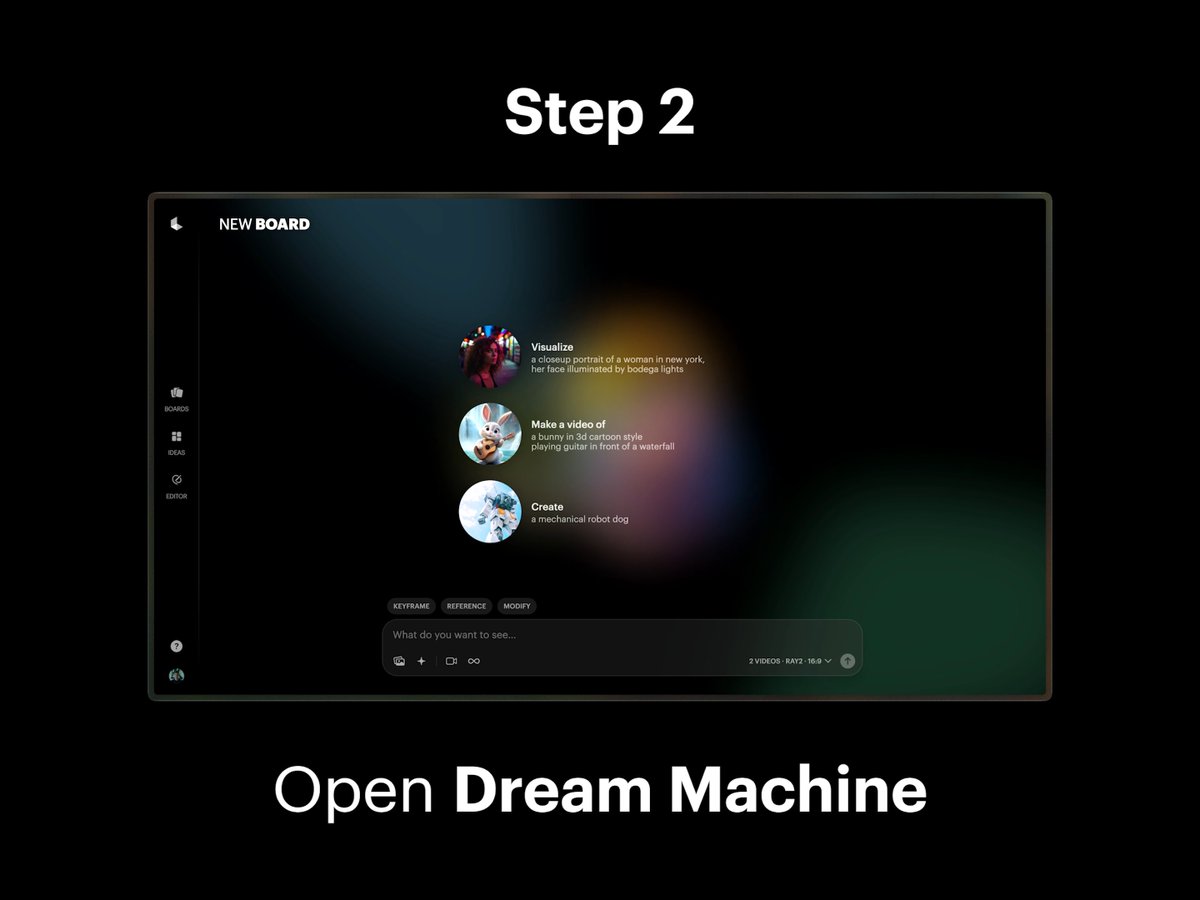
Step 2: Open Dream Machine
Open Dream Machine and create a new Board. This step sets up the environment for modifying your video.
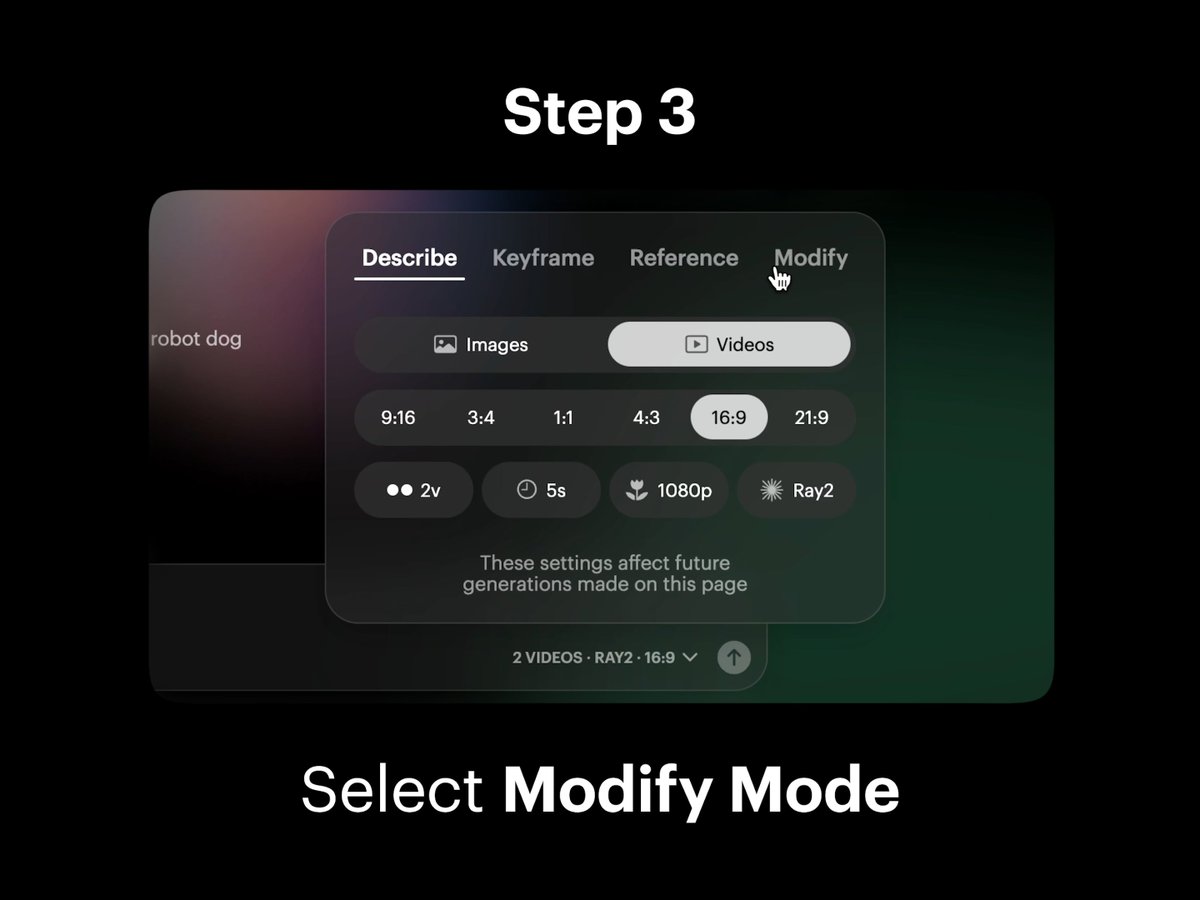
Step 3: Select Modify Mode
Select the Modify option in composer settings within Dream Machine to prepare for video editing.
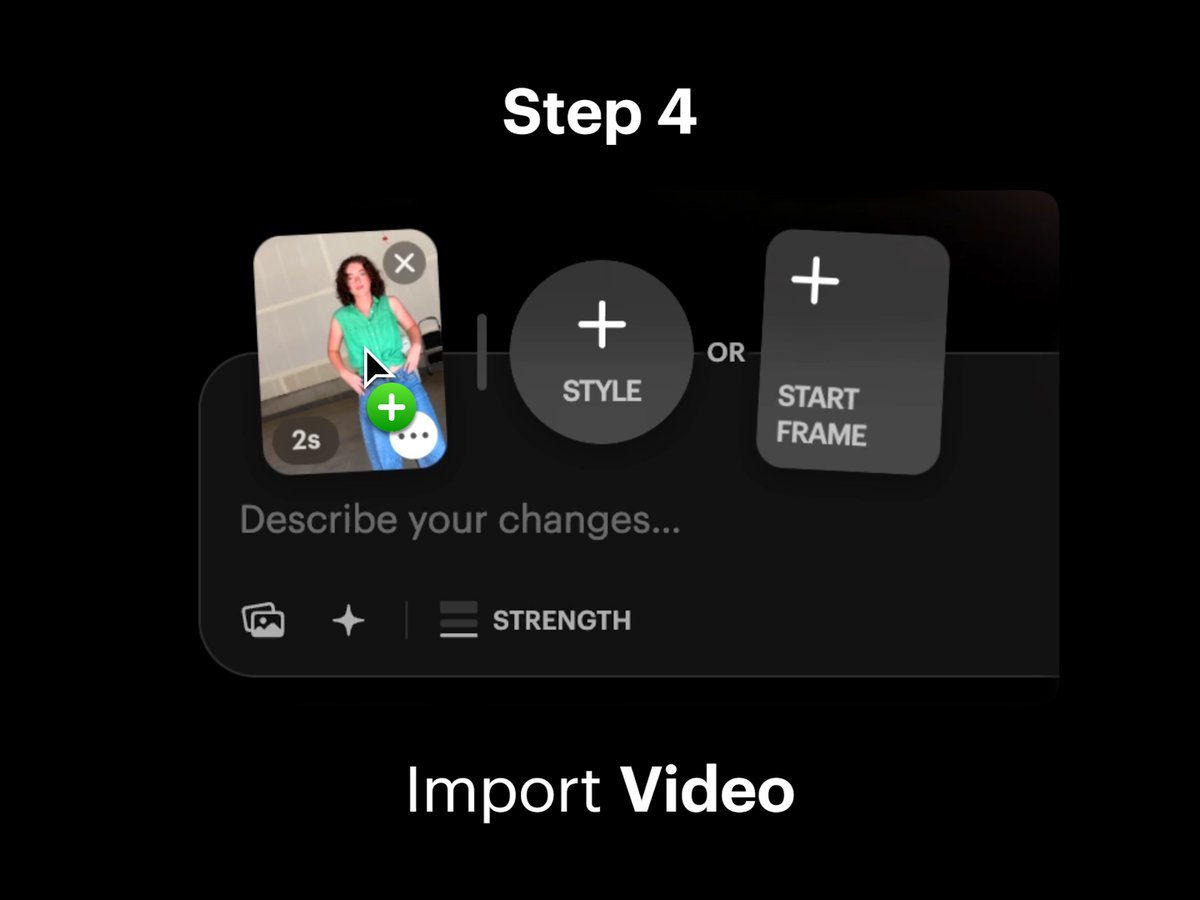
Step 4: Import Video
Import or drag and drop your captured video onto the blank Video Card in the composer. This integrates your footage into the editing process.
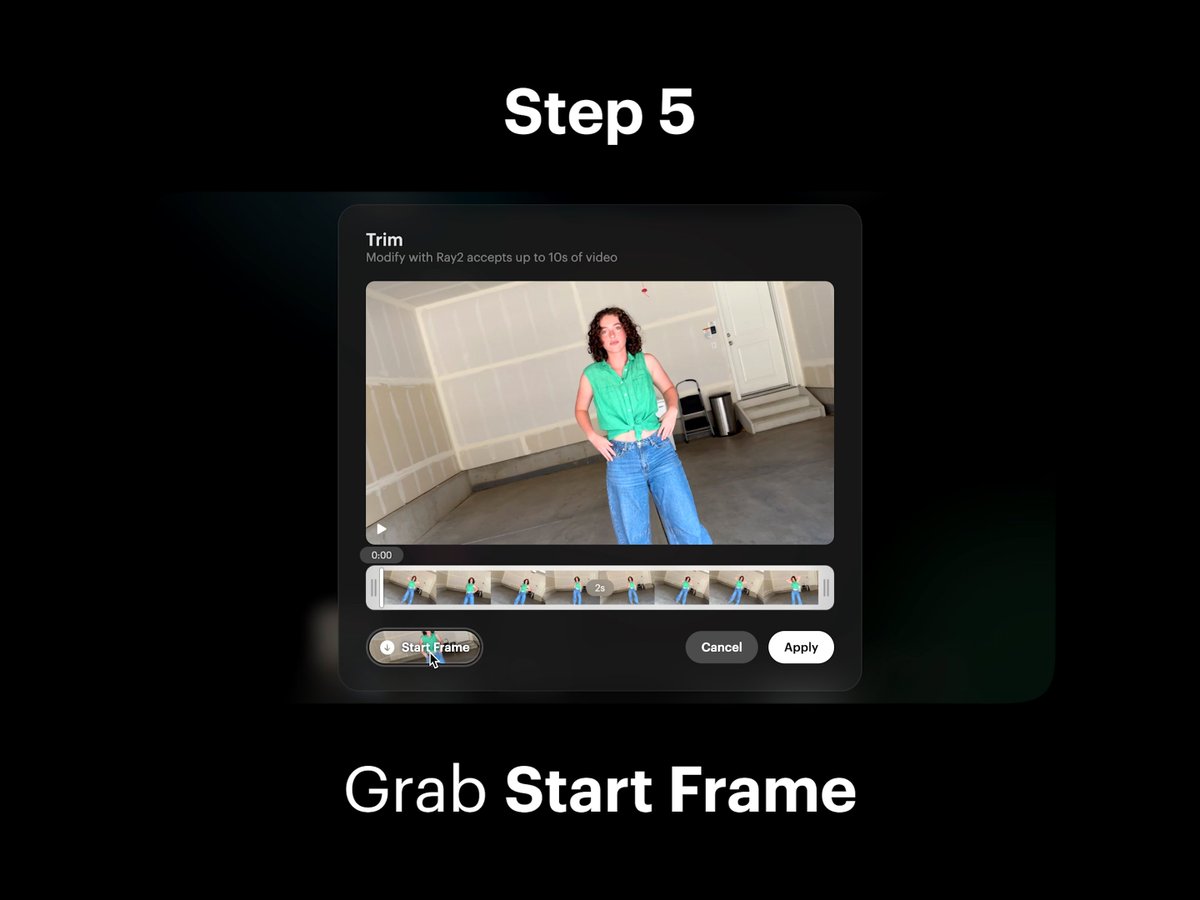
Step 5: Open Trim View
Select the Video Card to open Trim View. Then, select the “Start Frame” button to download your Start Frame for further editing.
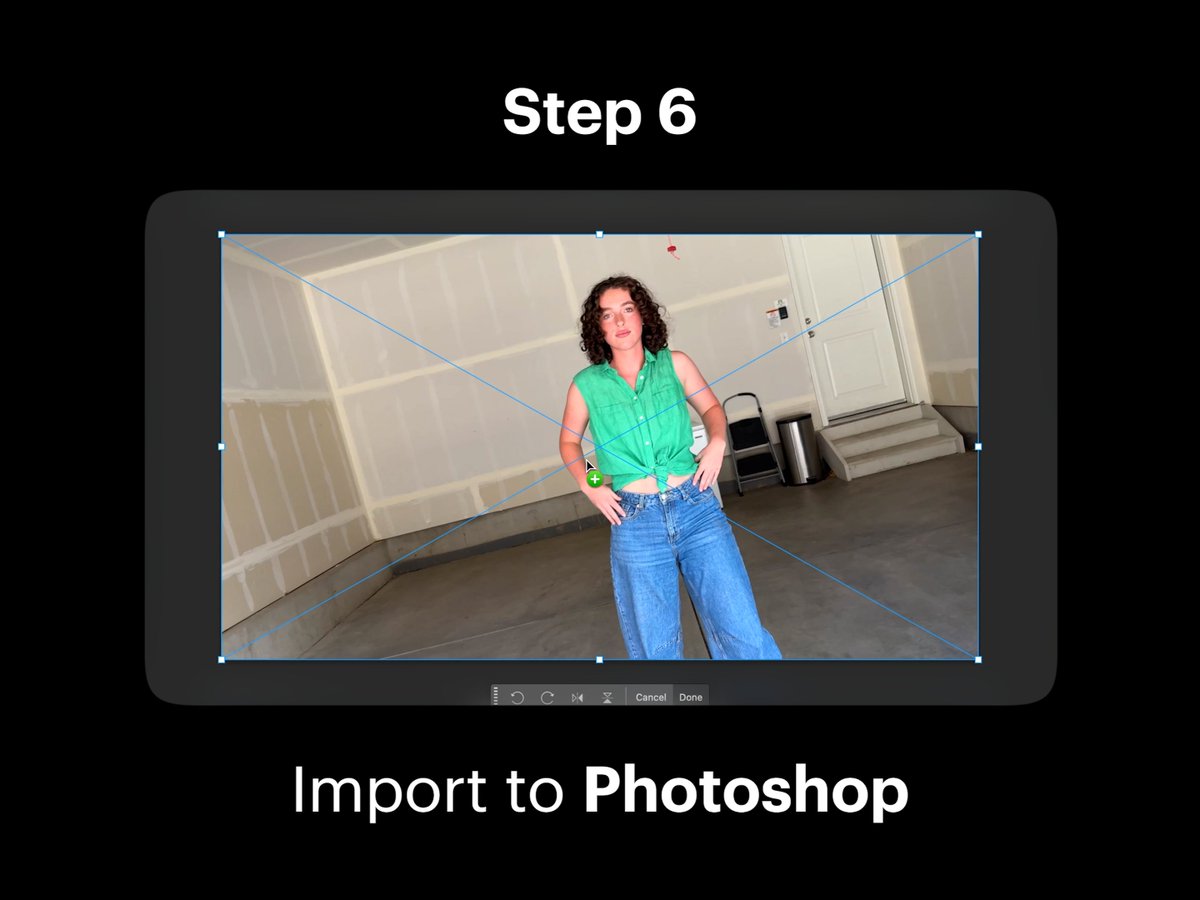
Step 6: Import to Photoshop
Import your Start Frame into Photoshop. This step allows for detailed image editing to change outfits.
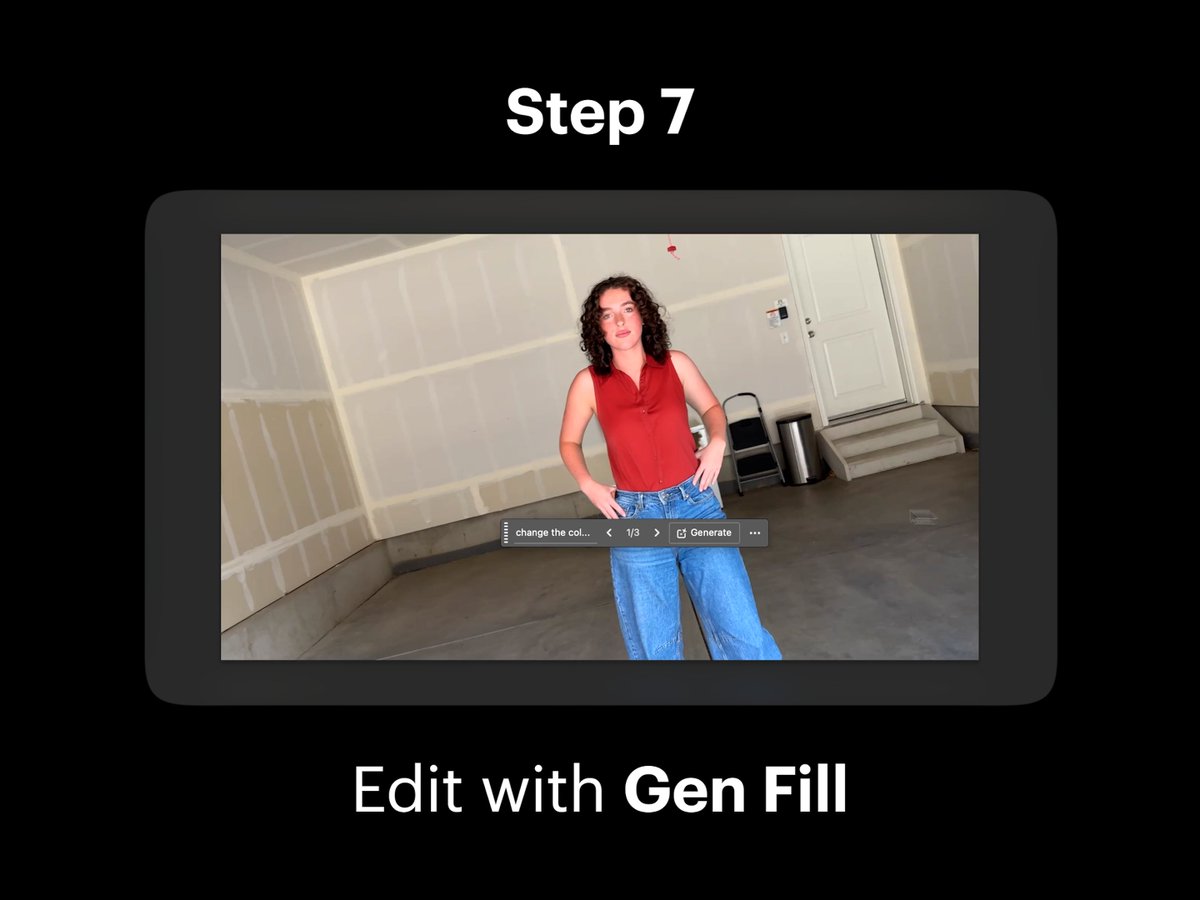
Step 7: Edit with Gen Fill
Using Gen Fill in Photoshop, edit and replace elements of clothing in your scene into different stylish options. This step is key to achieving the outfit swap effect.
Step 8: Repeat Gen Fill
Repeat the Gen Fill process to create multiple outfit variations. This allows for a variety of styles to choose from.
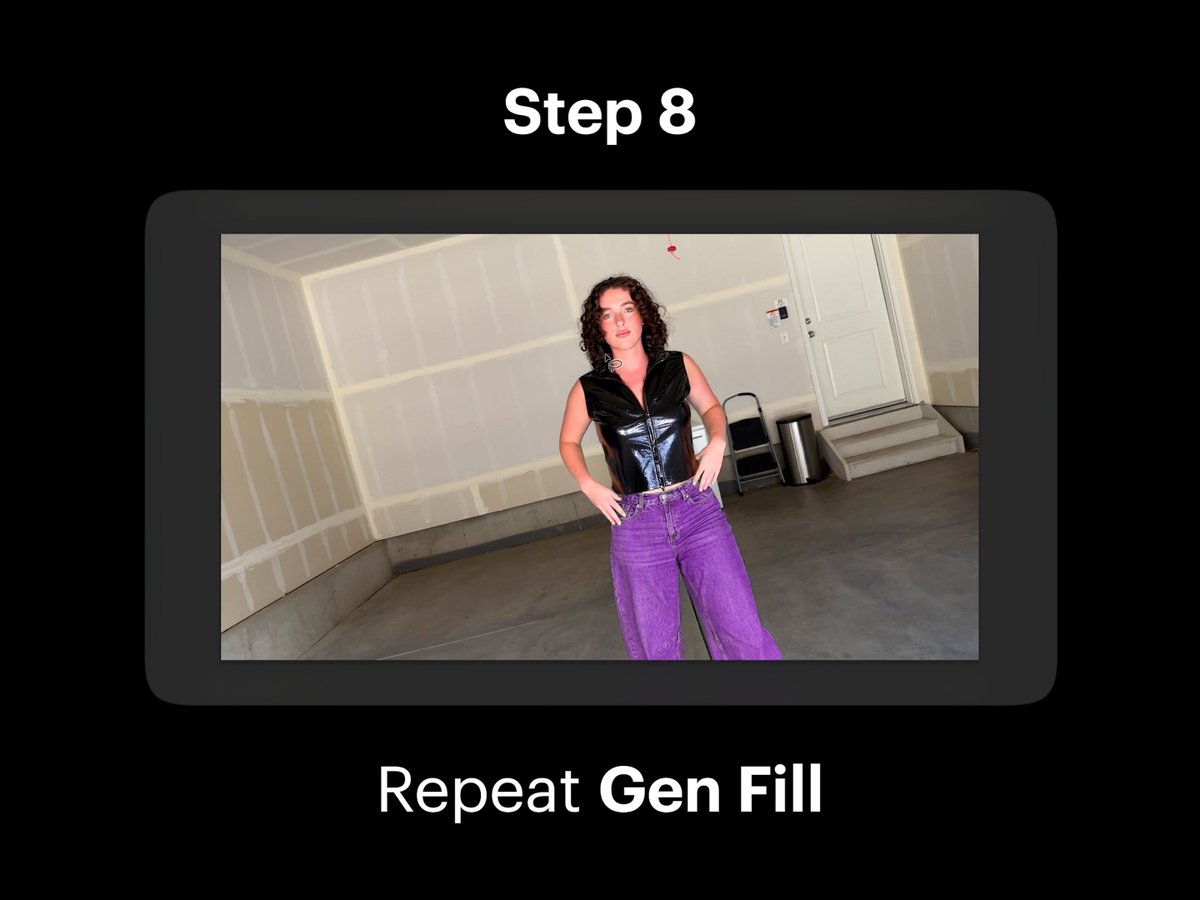
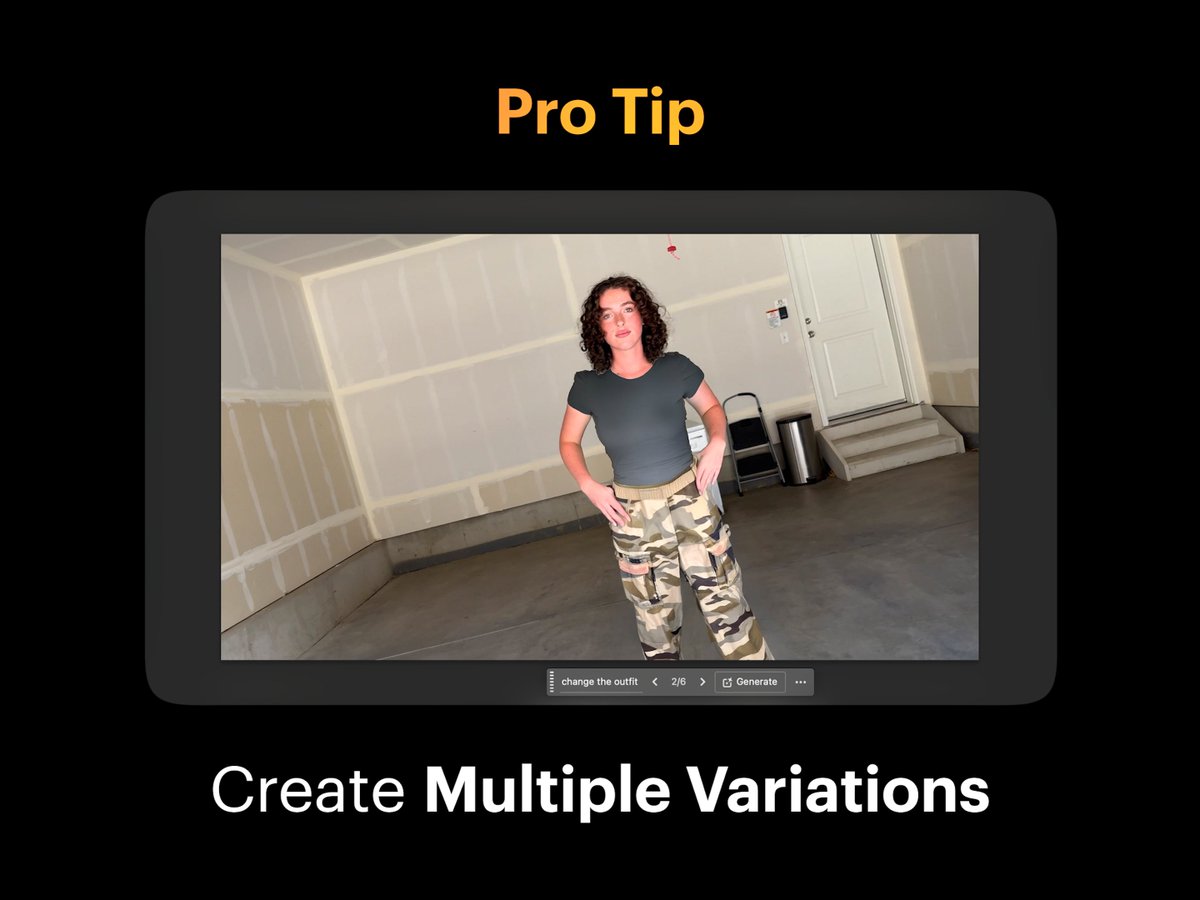
Pro Tip: Create Multiple Variations
Create multiple variations to have more styles to transform into. This tip enhances the flexibility and creativity of your video editing.
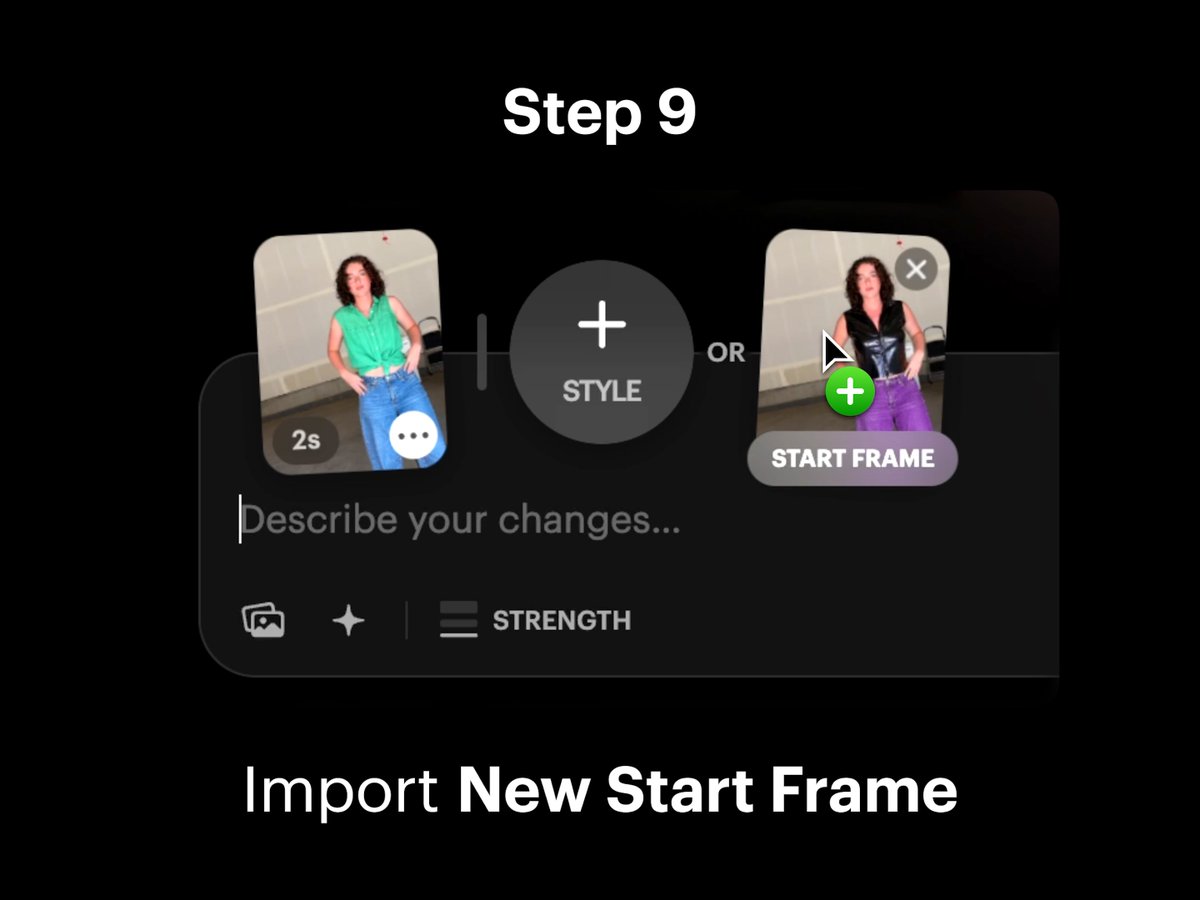
Step 9: Import New Start Frame
In Dream Machine, import your new Start Frame onto the Start Frame Card next to your original video. This step prepares for the final modification.
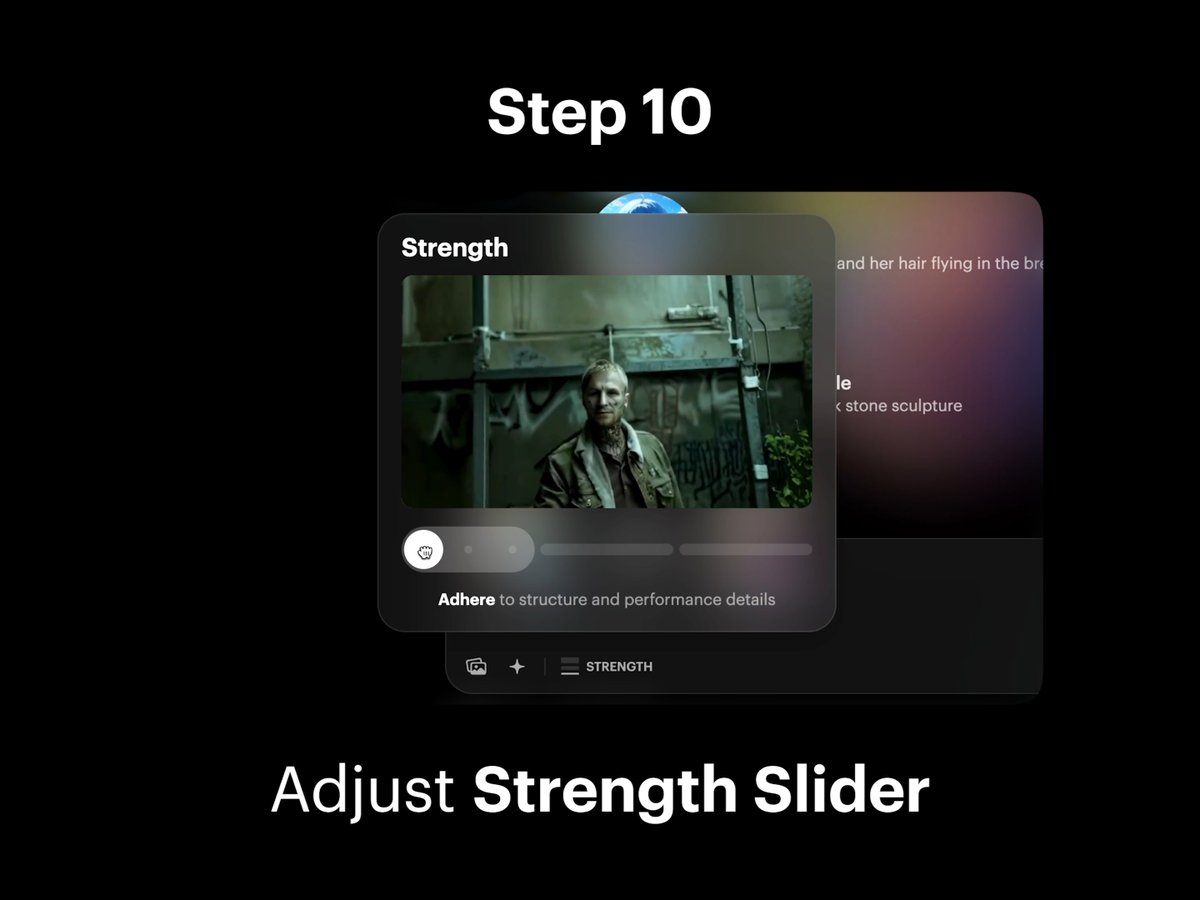
Step 10: Adjust Strength Slider
Adjust the Strength slider to select an intensity level for the modification. This fine-tunes the outfit swap effect.
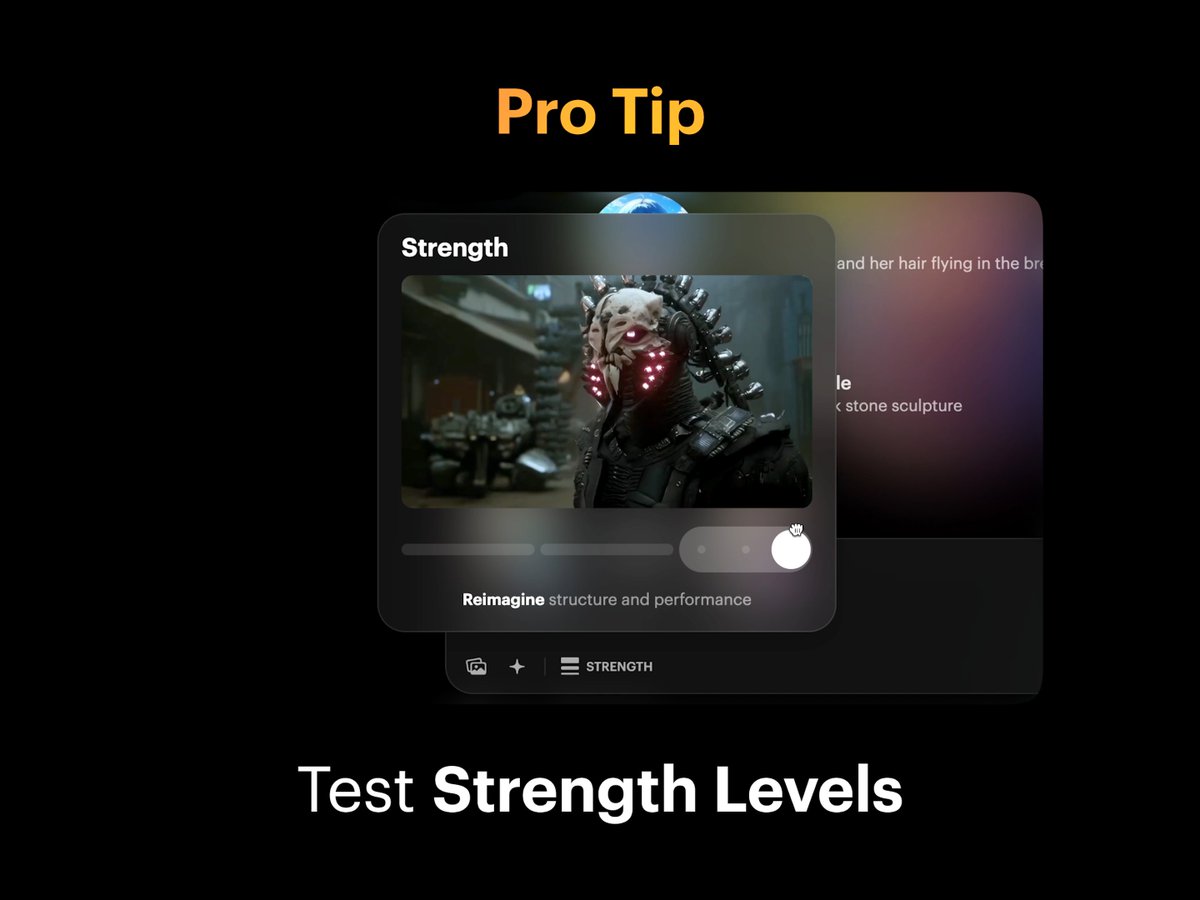
Pro Tip: Test Strength Levels
Dial it low to preserve detail. Turn it up to dream bigger. Experiment with Strength intensity levels across the slider from Adhere, Flex, and Reimagine to see which works best for your video.
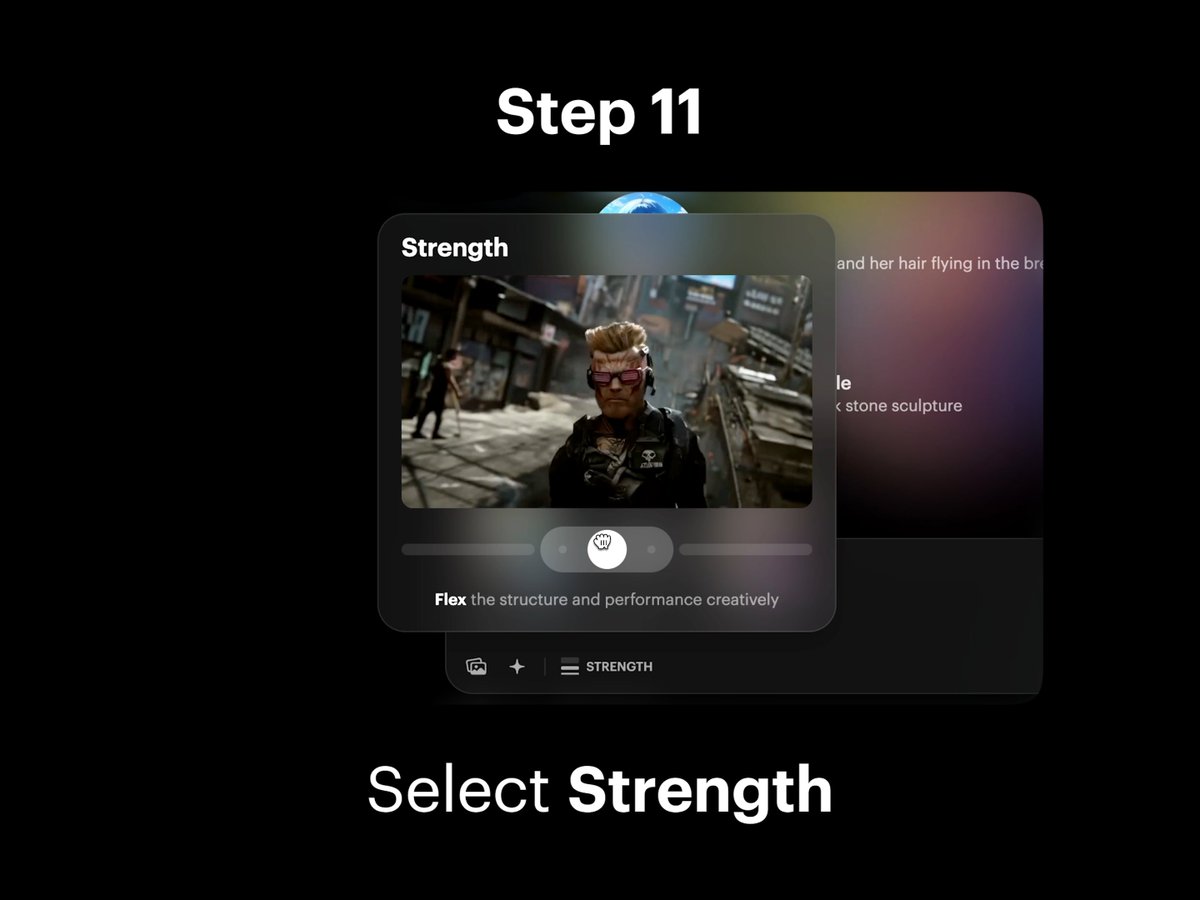
Step 11: Select Strength
Select and lock in your preferred Strength level. Flex 2 was used for this video example to achieve the desired effect.
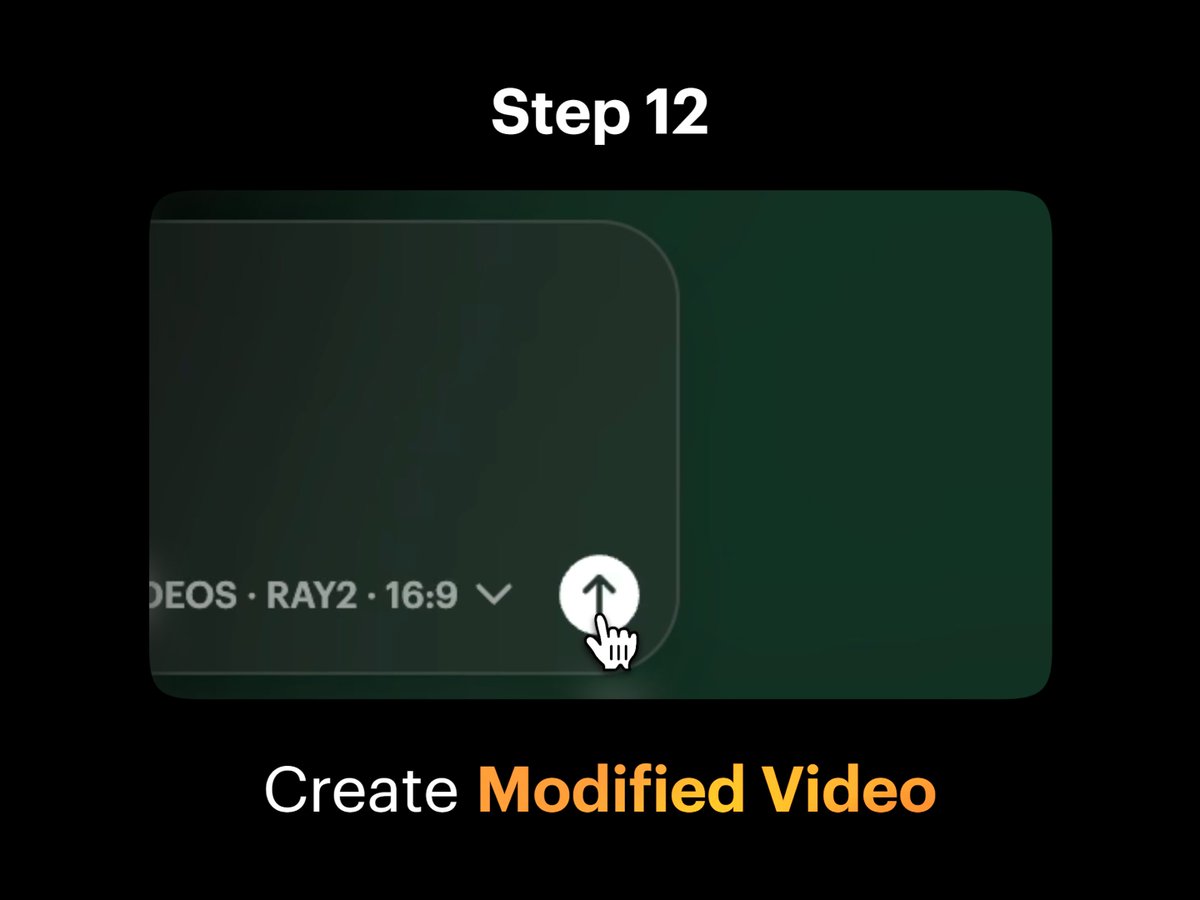
Step 12: Create Modified Video
Tap the Create button in the composer to make your outfit style video come to life. This final step completes the outfit swap process.
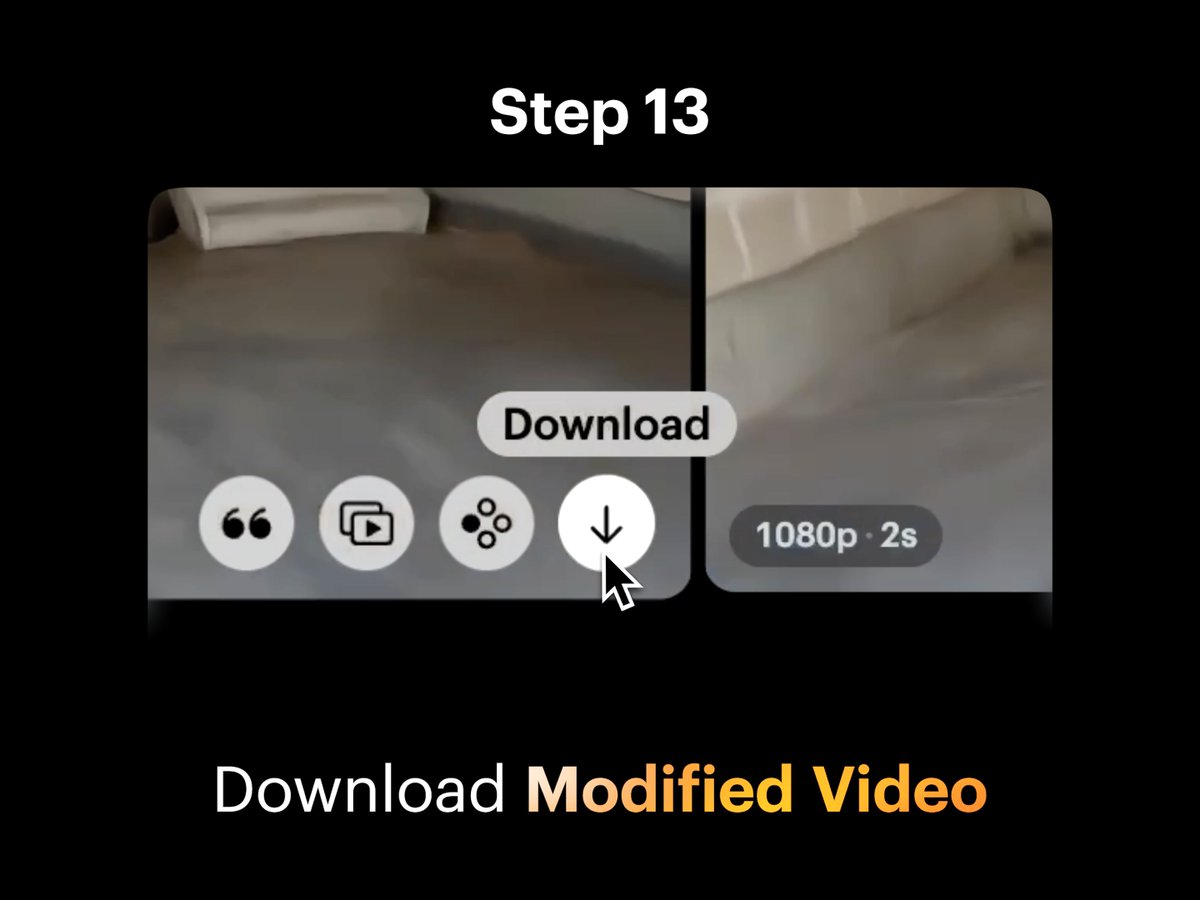
Step 13: Download Modified Video
Download your first modified video. This step allows you to save your work for further editing or sharing.
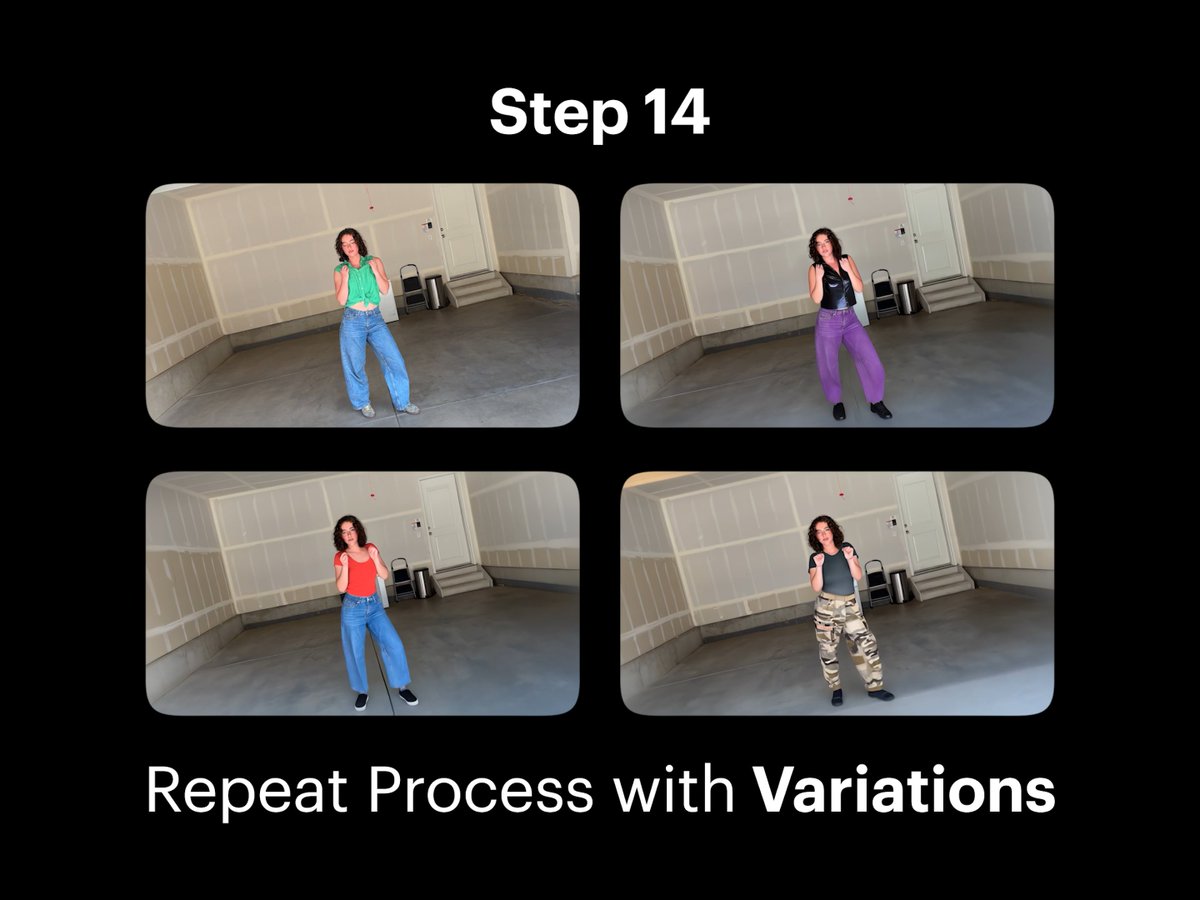
Step 14: Repeat Process with Variations
Repeat the process with each variation to create multiple outfit swaps. This step ensures a diverse range of styles.
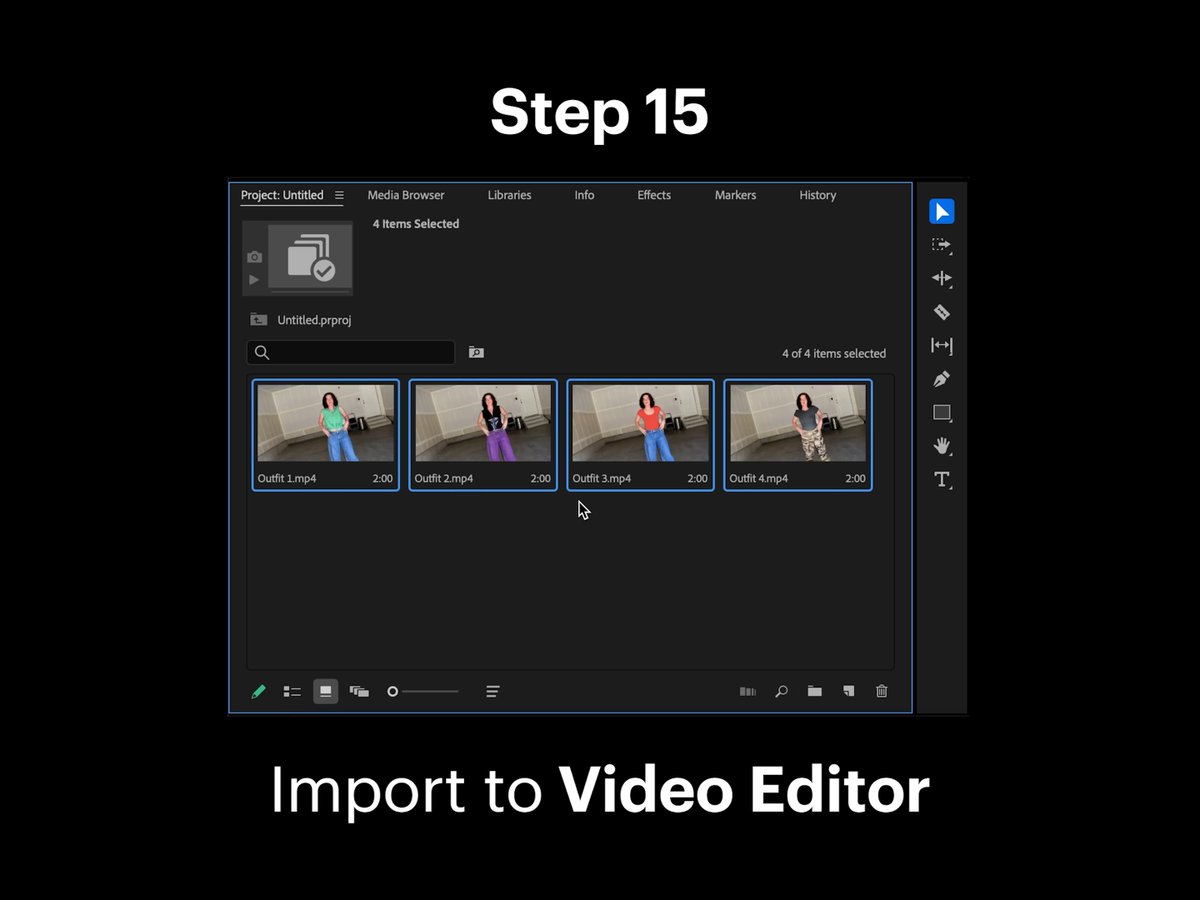
Step 15: Import to Video Editor
Import modified videos into any video editor. This step prepares your videos for final assembly and editing.
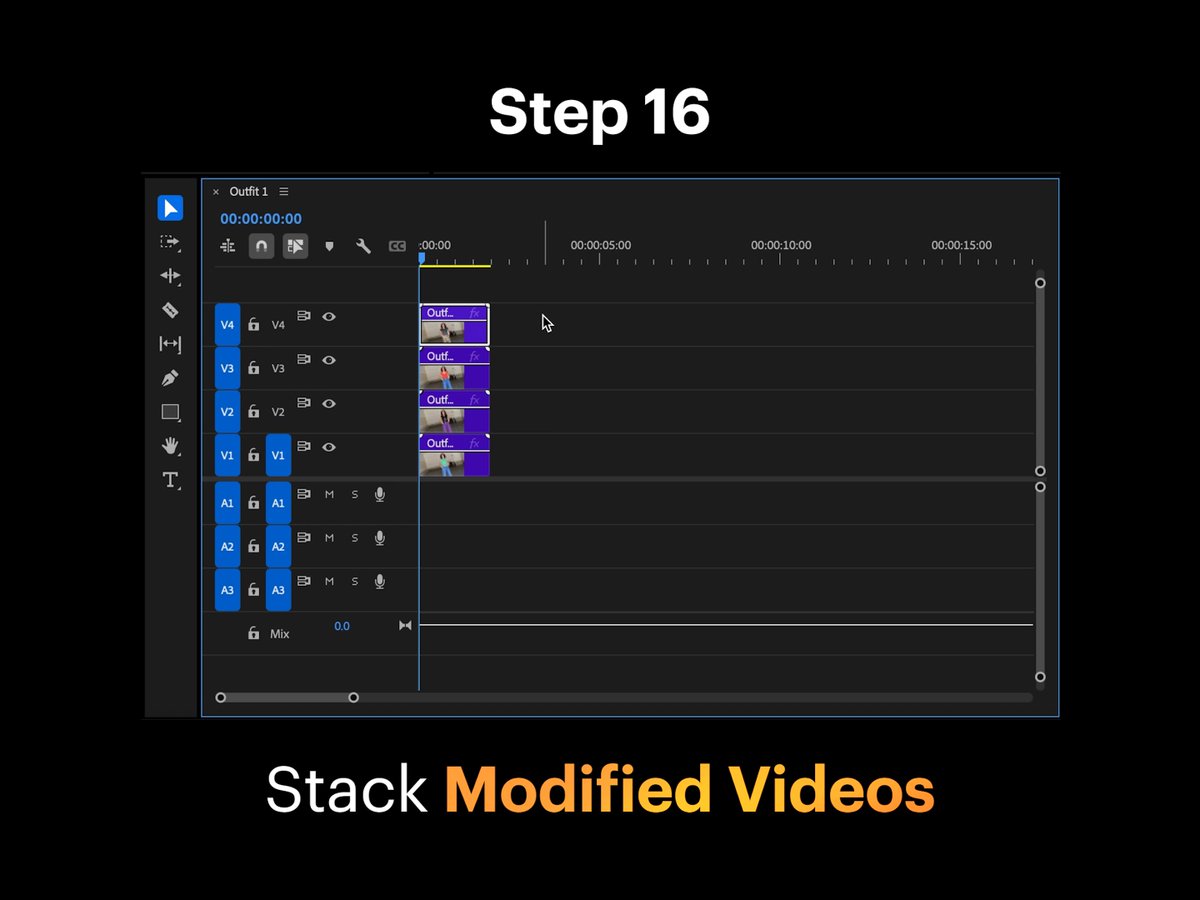
Step 16: Stack Modified Videos
Stack the modified videos in your timelines within the video editor. This step is crucial for creating a seamless outfit swap video.
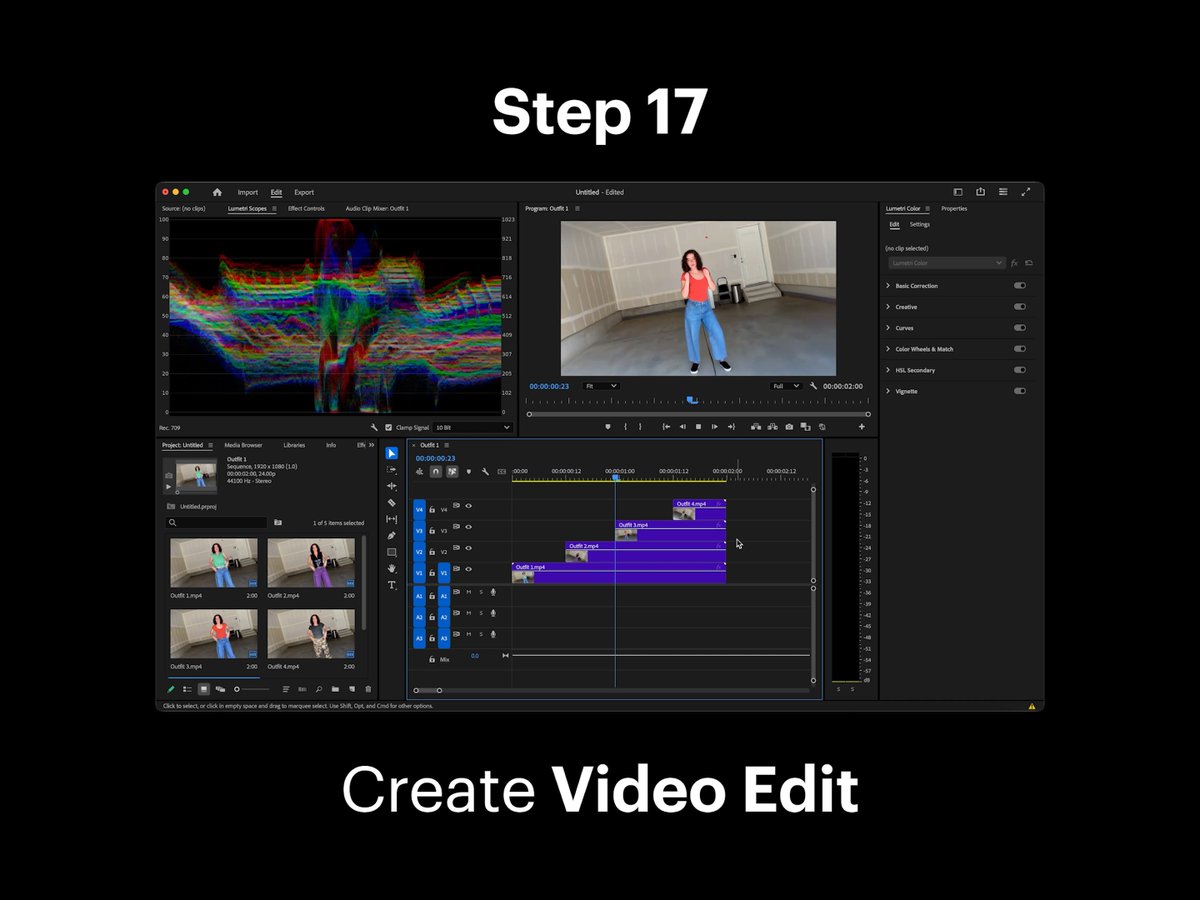
Step 17: Create Video Edit
Cut and create your outfit swapping video edit. This final step completes the video production process.